
Hoi allemaal!
Uit mijn poll op Instagram bleek dat jullie wel oren hadden naar een tutorial voor mijn Polkadot Pillow.
Ik haakte alles met dubbele draad en haaknaald 8, zo is het kussen snel af. De maat van het kussen is 45 bij 45 cm, dus een leuk formaat om lekker tegenaan te zitten op de bank bijvoorbeeld.
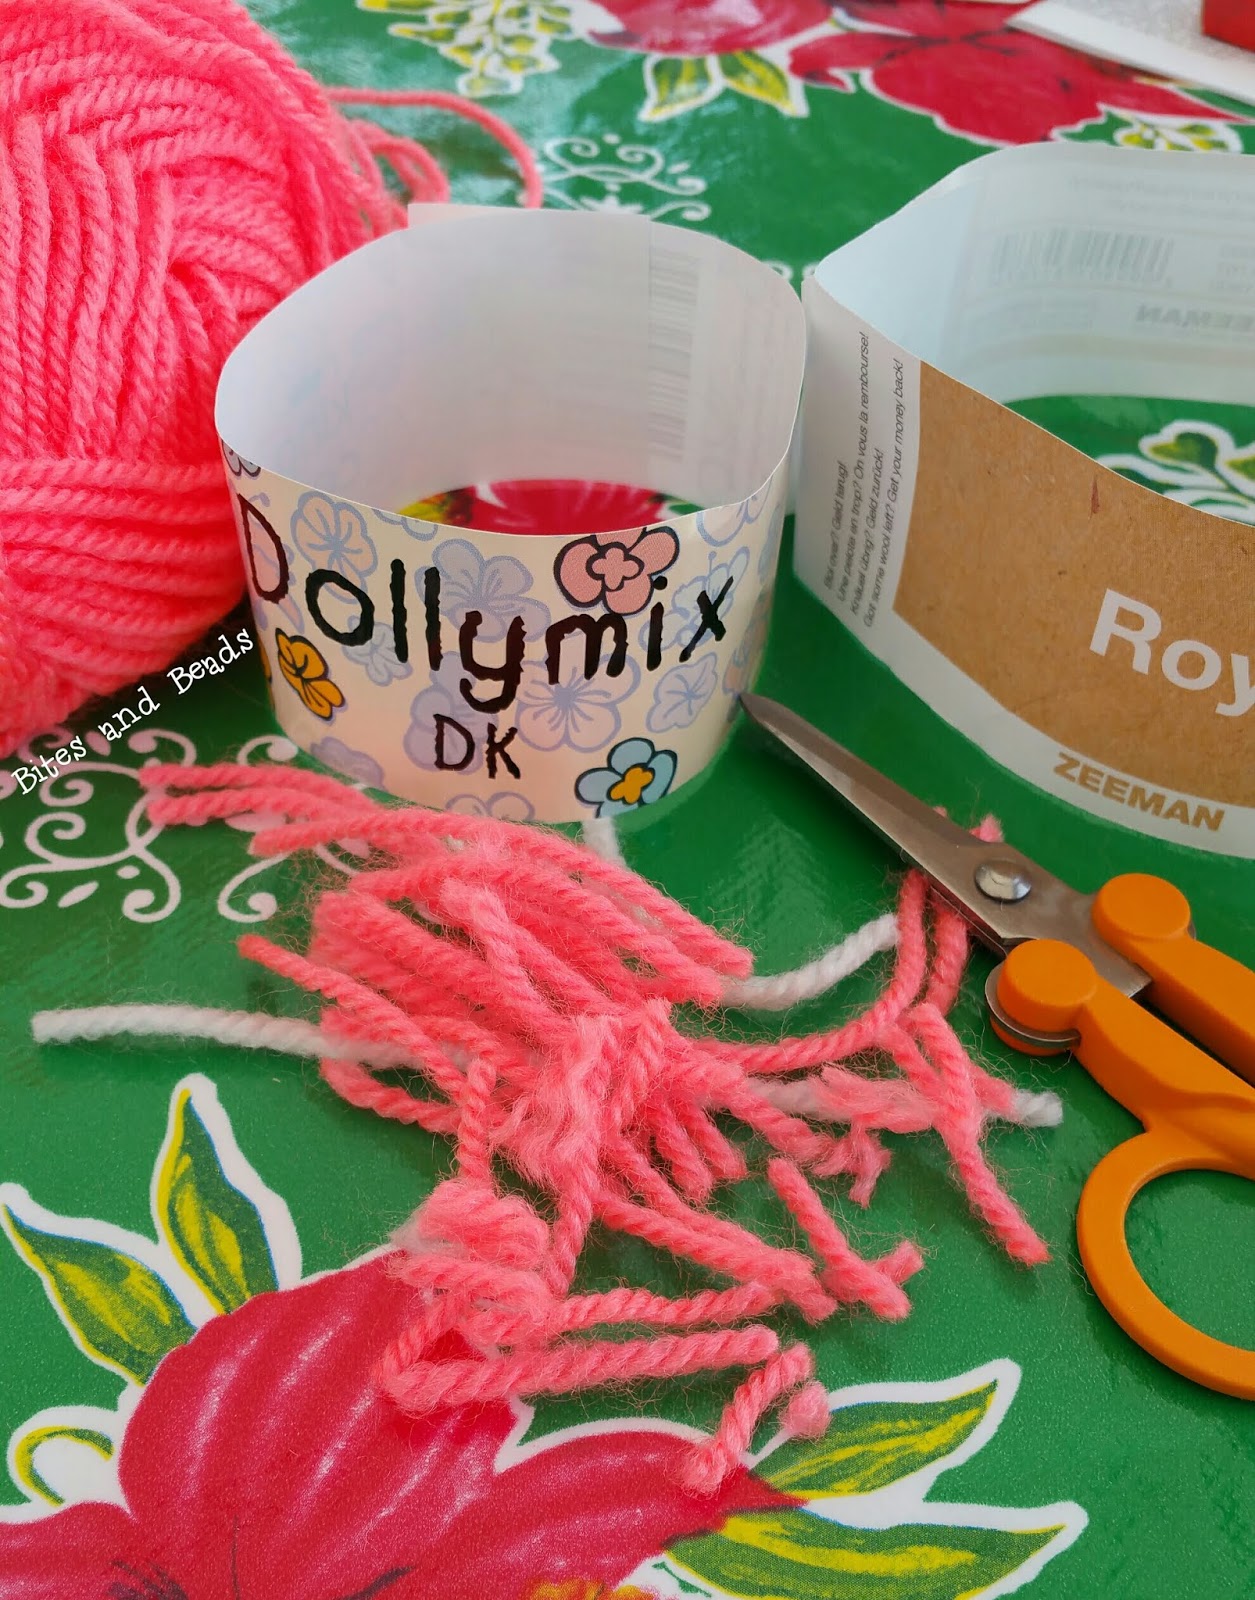
Ik gebruikte 2 bollen witte Zeeman Royal en 1 bolletje zalmroze Dollymix DK. Dat is echt een toffe neonkleur, maar nogal lastig om aan te komen in Nederland. Ik heb het via internet in Engeland gekocht. Je kunt natuurlijk ook andere acrylwol gebruiken, als het maar geschikt is voor haaknaald 3 tm 5.
Aangezien ik maar 1 bolletje hiervan gebruikte maar wel met een dubbele draad haakte ik met beide uiteindes van de bol. Als je niet weet wat ik bedoel raad ik je zeker aan om deze blogpost ook even te lezen:
Hi everyone!
An overwhelming amount of people (96%) that voted in my poll would like to see a tutorial for my Polkadot Pillow, so here it is.
I crocheted everything with a double thread and I used hook size 8, so it's a quicky, this one. The size is 45 x 45 cm, so a perfect pillow for your couch for example.
I used two balls of white acrylic yarn suitable for hook size 4/5 and 1 ball of lovely neon salmon pink Dollymix DK (shade 174). I bought this in England and had it sent to me by mail, but you could use any colour acrylic yarn suitable for hook size 3 till 5.
Since I only used one ball of this colour, but crocheted with a double thread, I used both ends. If you don't know what I'm talking about I suggest to read this blogpost too:
Het patroon:
1) Haak 41 lossen (l)
2) (4 toeren van 1 keerlosse (kl) en 40 vasten (v)
3) 1 kl, 4 v, 1 nop*, 9 v, 1 nop, 9 v, 1 nop, 9 v, 1 nop, 4 v
4) 4 toeren van (1 keerlosse (kl) en 40 vasten (v)
5) 1 kl, 9 v, 1 nop, 9 v, 1 nop, 10 v, 1 nop, 9 v)
6) Herhaal (...) 3 keer
7) Haak nog 4 toeren van (1 kl en 40 v)
The pattern (American terms):
1) Chain -ch- 41
2) (4 rows of 1 turning chain -tch- and 40 single crochets -sc-
3) 1 tch, 4 sc, 1 bobble stitch -bst-*, 9 sc, 1 bst, 9 sc, 1 bst, 9 sc, 1 bst, 4 sc
4) 4 rows of 1 tch and 40 sc
5) 1 tch, 9 sc, 1 bst, 9 sc, 1 bst, 10 sc, 1 bst, 9 sc)
6) Repeat (...) 3 times
7) 4 rows of 1 tch and 40 sc
1) Een nop haak je als volgt:
Hou de lus van de witte kleur op je naald. Hecht de zalmroze kleur aan, haak 2 lossen en 4 keer (1 st dat je niet afmaakt, gevolgd door een extra l).
Je hebt zo 6 (dubbele) lussen op je naald, 1 witte en 5 zalmroze. Trek de witte draad goed strak en haal de draad in 1 keer door alle lussen. Haak nog een l om de steek te fixeren.
Op Instagram plaatste ik al een filmpje over hoe je deze steek maakt. Hieronder vind je 'm ook (in tweeën want het filmpje is te lang), en je kunt het in zijn geheel ook terug zien op YouTube:
1) This particular bobble stitch is crocheted like this:
Keep the loop of the white colour on your hook. Attach the salmon pink, chain 2 and 4 times (1 double crochet -dc- that you don't finish, followed by an extra chain).
Now you have 6 (double) loops on your hook, 1 white and 5 salmon pink. Pull the white thread tight and pull it through all loops. Chain one to fixate the stitch.
I showed how to do this on Instagram already, and you can also watch it here (in 2 parts because the film is a bit too long). You can also watch the whole film on YouTube:
2) Bij de toeren met 3 noppen zijn de noppen aan de achterkant gehaakt. Deze duw je eenvoudigweg naar voren.
3) Belangrijk: de nop heeft aan de bovenkant 2 lussen maar ze tellen maar als 1. Daarom haak je in de toeren met 4 noppen de v van de volgende toer in de 1e lus bovenaan de nop, en in de rijen met 3 noppen haak je de v in de 2e lus bovenaan de nop.
2) In the rows with 3 polkadots they are crocheted on the backside. All you have to do is push these forward.
3) Important: the polkadots have 2 loops on top, but they only count as 1 stitch. Therefore you crochet the sc of the next row in the first loop of the polkadot in the rows with 4 polkadots, and in the rows with 3 polkadots you crochet the sc in the 2nd loop of the polkadot.

4) Je kunt de kleur van de noppen steeds mee haken, maar dan zie je waarschijnlijk een beetje van de kleur door schijnen. Zelf vind ik het mooier om losse noppen te haken, en zo kun je ook makkelijk allerlei verschillende kleuren gebruiken. In mijn vorige blogpost staat hoe je dat doet.
4) You can take along the coloured thread of the polkadots as you go on, but then you'll probably see a bit of this colour shining through. I find it neater to crochet single polkadots, and this way you can also easily make different colour dots. In my previous blogpost you can read how to do this.

5) Je kunt 2 van deze helften maken en aan elkaar naaien (bijvoorbeeld elk in een andere kleurstelling, of de andere helft met allemaal gekleurde stippen), of je maakt er maar eentje en naait 'm vast op een bestaande kussensloop.
Veel haakplezier, en ik hoor graag van je, hieronder of op Insta of Pinterest!
x Maartje
5) You can make 2 of these and sew them together (f.e. in a different colour combo or the other side with all different coloured dots), or you can make only one and sew it on an exitsting pillow case.
I wish you lots of fun making this pillow, and I would love to hear from you, here or on Insta or Pinterest!
x Maartje
P.s. My cats say Hi! :-)

Heel leuk patroon! En zo vrolijk! Liefs, Verie
BeantwoordenVerwijderen